
Gallery
On-site work across the Emirates
What you see here is the work that matters — surface preparation, detail reinforcement and membrane application before finishes hide it. Good waterproofing looks unremarkable once tiles or gravel go down; these frames show the layers that actually stop water.
Images below illustrate typical scopes — villa roofs, wet areas, podiums, pools and industrial decks. Site-specific project photos are available during quoting on request. For completed-project narratives see our projects page. Application sequence is described step-by-step on process.
What each stage means
Every image in this gallery sits somewhere in the sequence below. When you review a contractor's portfolio, ask which stage is shown — detail shots matter more than wide field coats about to be buried under tiles or gravel.
Strip and prep
Failed coatings, laitance, oil and loose material removed to achieve bond strength the manufacturer requires. Skipping this stage is the most common cause of year-two failure in the UAE.
Prime
Primer type matches substrate — concrete, metal or existing compatible membrane. Wrong primer or applied over damp substrate causes debonding under summer heat.
Detail reinforcement
Outlets, corners, penetrations and thresholds receive extra coats or fabric before the field. Most leaks start here — not in the open area visible in wide shots.
Field application
Main membrane coats at specified wet-film thickness. Weather window matters: peak afternoon heat and pre-rain humidity affect cure on exposed decks.
Cure and protect
No foot traffic, tiling or ponding until minimum cure time. Protection boards or screed follow where the build-up requires — membrane is not always the top layer.
Test and handover
Flood or hose test on wet areas; visual and thickness checks on roofs. Photos and datasheets issued before finishes hide critical zones permanently.
Why photos matter before finishes go down
Once tiles, screed or gravel cover a membrane, only flood tests and outlet inspections remain to prove quality. Gallery images show the detail work that determines performance — fabric at upturns, threshold angles, outlet rings, seam prep on metal. When evaluating any contractor, ask for detail-stage photos from comparable scopes, not only finished surfaces.
Representative project narratives with problem, solution and methodology notes are on projects. Application sequence on process.
How to judge contractor photos
Finished terrace tiles prove appearance, not membrane continuity underneath. Useful portfolios show prep, primer, fabric at outlets, threshold angles and penetration dressings — the zones where UAE leaks actually start. Red flags: only wide field-coat shots with no drain close-ups; no images of stripped substrate; every project looks identical regardless of asset type; zero threshold or door-sill detail in balcony work. If a contractor cannot show comparable detail stages from a scope like yours, ask why before comparing price alone. Ask also for one failure photo set — blistered acrylic, blocked outlet, hollow threshold — so you know they diagnose, not only spray.
Photos to demand before paying
Before final payment or before tiles conceal the work, you should have dated photos of: stripped and primed substrate; reinforced outlets, corners and penetrations; each coat where visibility allows; flood or hose test setup on wet areas; and any areas excluded from scope called out in writing. These align with the handover pack described on our process page. Missing detail shots are harder to argue after finishes go down. Keep copies yourself — do not rely only on the contractor’s phone gallery after the crew demobilises. Store copies in the same folder as the warranty certificate so FM successors can find them. If payment is staged, tie the final tranche to receipt of those photos — not only to a dry ceiling for one week. A short photo index in the handover email (outlet, threshold, field, test) beats a dump of unsorted images.
Roofs
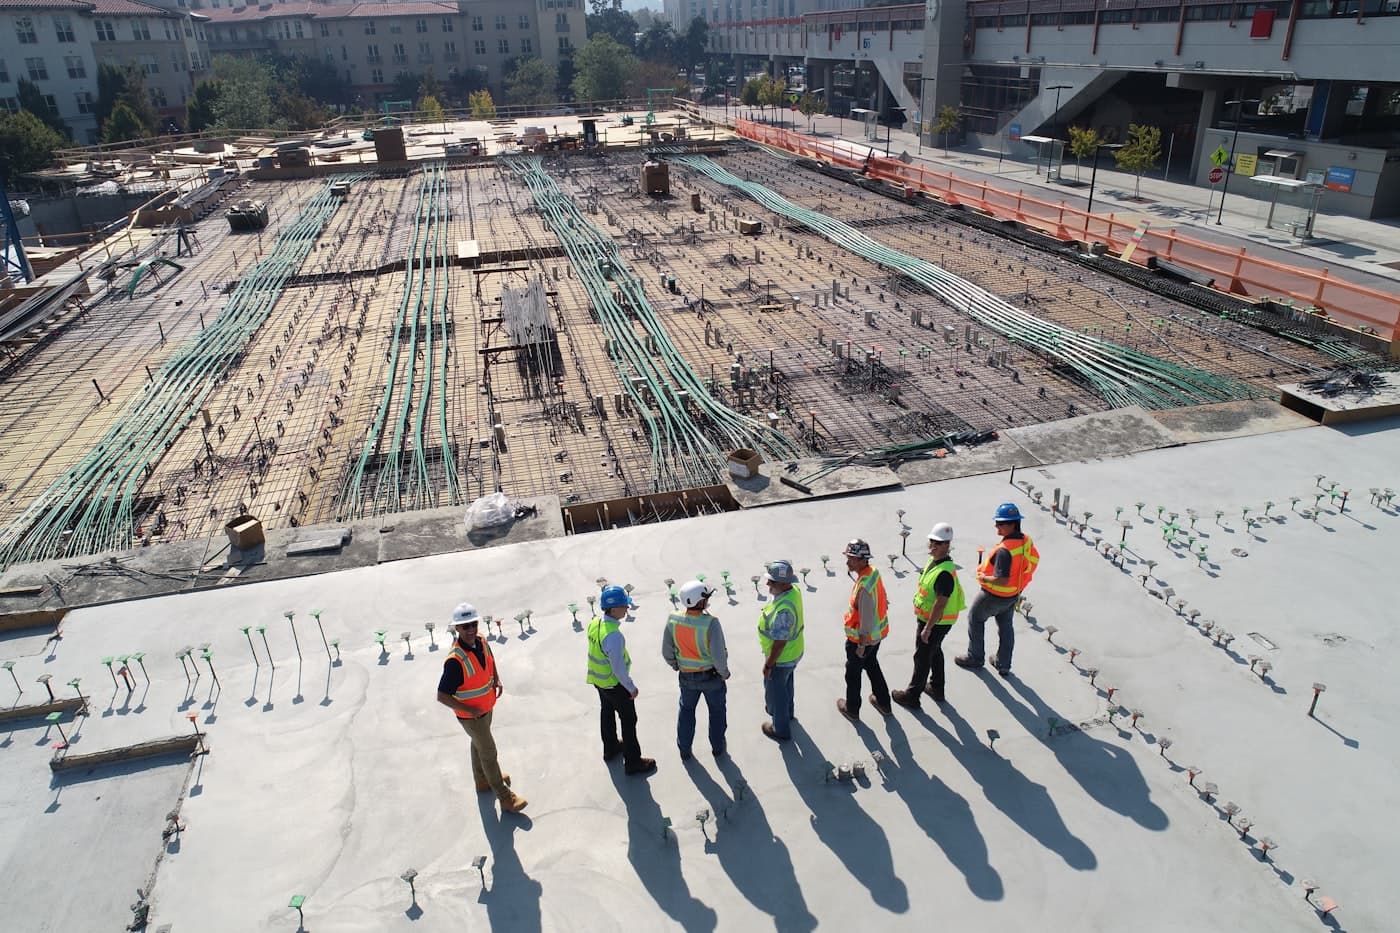
Villa roof — polyurethane field coat in progress
Two-coat liquid PU on a prepared concrete deck in Dubai — fabric reinforcement visible at a parapet upturn before topcoat.
Field coat stage: substrate is already stripped, primed and detailed at outlets. Fabric at upturns adds tensile strength where thermal movement opens cracks. Topcoat follows for UV protection.

Wet areas
Bathroom wet-area — floor/wall junction detail
Cementitious membrane turned up wall with reinforced internal corner prior to tile installation — standard UAE wet-area spec height.
Pre-tile stage: membrane must turn up walls to specified height and wrap internal corners with reinforcement tape or extra coats. This is the last visible proof of continuity before adhesive and tile hide it.

Balconies
Balcony — membrane continuity at door threshold
Under-tile membrane lapped into threshold angle — the detail that prevents water tracking into living rooms on tiled balconies.
Threshold dressing: water must be directed to the drain, not under the door frame. Membrane laps into the angle before screed or tile — the most common balcony failure point in UAE towers.
Pools
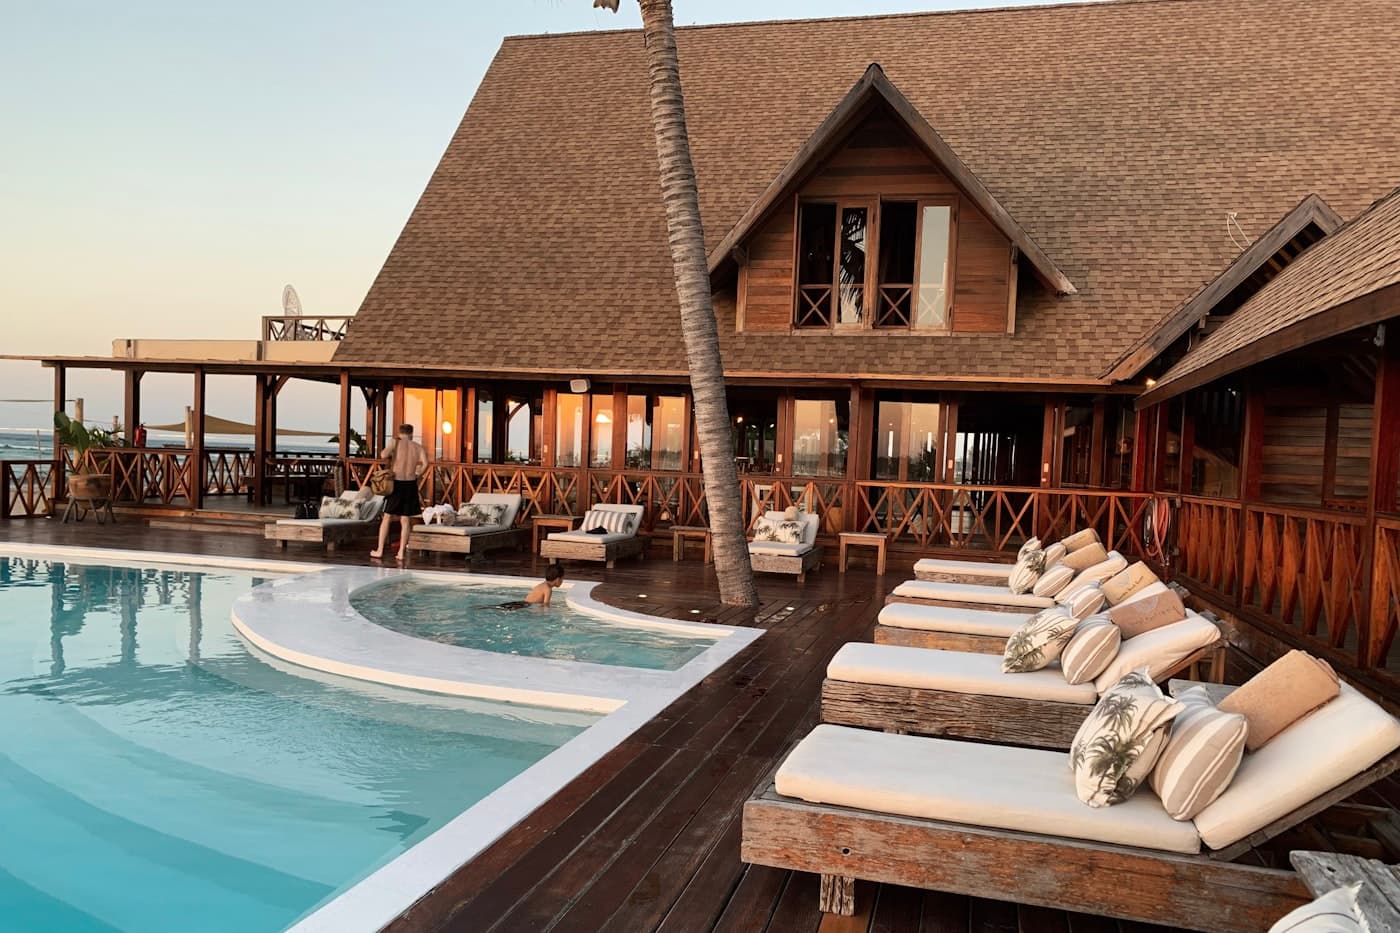
Pool shell — cementitious lining before tile
Flexible cementitious pool membrane on prepared shell with reinforcement at skimmer surround — Ras Al Khaimah hotel project.
Shell lining stage: fittings and penetrations get extra layers before field coat. Tile adhesive compatibility and submerged performance drive product choice — not roof membrane specs.

Industrial
Warehouse deck — seam treatment and coating
Metal panel seams addressed before primer and polyurethane topcoat on a Sharjah logistics roof — zoned application for operational continuity.
Seam prep stage: rust conversion and seam sealing precede primer. Coating over untreated metal fails at fasteners within one season. Zoning allows dispatch to continue in alternate bays.
Commercial
Podium drain — outlet reinforcement rings
Extra membrane layers and clamping at a commercial podium drain — field coat follows only after detail is complete.
Outlet reinforcement: drains are dressed with target patches and clamping rings before the field area is coated. A perfect field with a proud or blocked drain still leaks in the first storm.

Repair
Crack injection — active ceiling leak arrested
Polyurethane injection packers along a live crack in a Business Bay tower slab — broader membrane assessment followed.
Injection stage: stops active water through a defined crack while structural movement and surrounding membrane condition are assessed. Not a substitute for full deck renewal when multiple breach points exist.

Terraces
Terrace — threshold and upturn sequence
Liquid membrane dressed over a door threshold and up parapet wall — typical villa terrace detail before protective tiles or screed.
Detail sequence: upturns and thresholds are completed before open terrace field. Parapet height and door sill continuity determine whether rain drives water inward despite a uniform field coat.

Tanks
Water tank — epoxy lining at floor/wall joint
Internal tank epoxy with reinforced corner treatment — potable-approved system on a residential tower in Abu Dhabi.
Tank lining stage: floor/wall joints and pipe penetrations are reinforced before field lining. Potable approval and cure time before refill are part of scope — not optional extras.
Material systems behind these stages — polyurethane, cementitious, bitumen, polyurea and injection — are compared on our materials page. Book an inspection if you need to see comparable detail on your own substrate before committing to scope.
Ready for a proper inspection?
Share your property details and we will respond with next steps for survey and quoting.